You may be in a situation where you’d like to use multiple domains to send emails from your WordPress site.
For example, you may want to send from info@myonebusiness.com as well as help@myothercompany.com.
Fortunately, we make adding additional domains to MailHawk is easy!
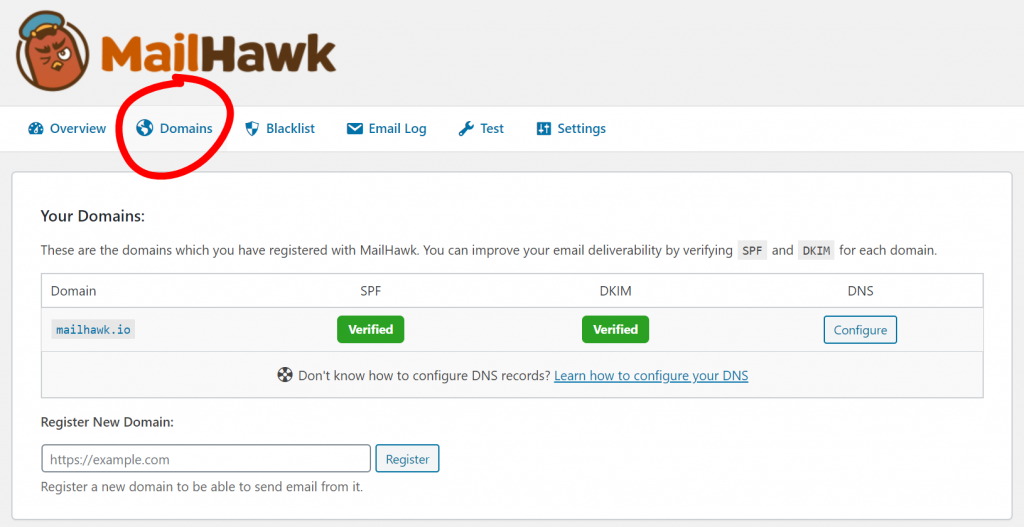
In your WordPress site go to Tools > MailHawk > Domains. Your screen should look like this.
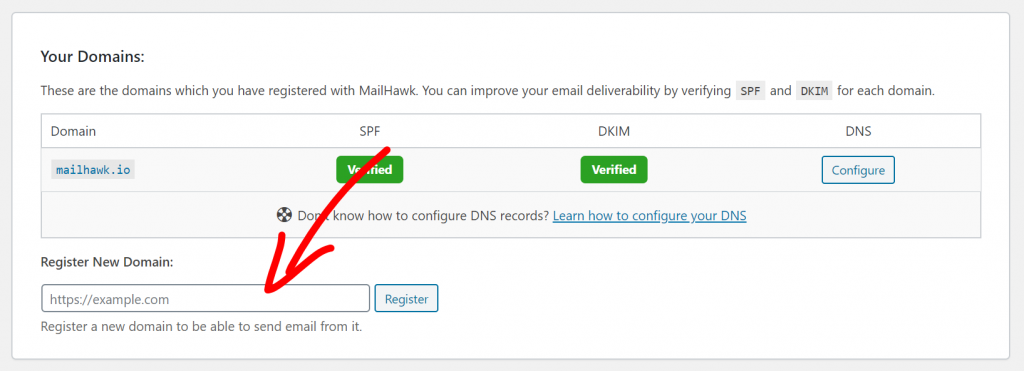
To add a new domain to your account, simply copy and paste the URL of your domain into the form located underneath the domains list.
If the domain was added to your account successfully, you will be take to the DNS configuration page for that domain. You will also see a green notice letting you know the domain was added to your account.
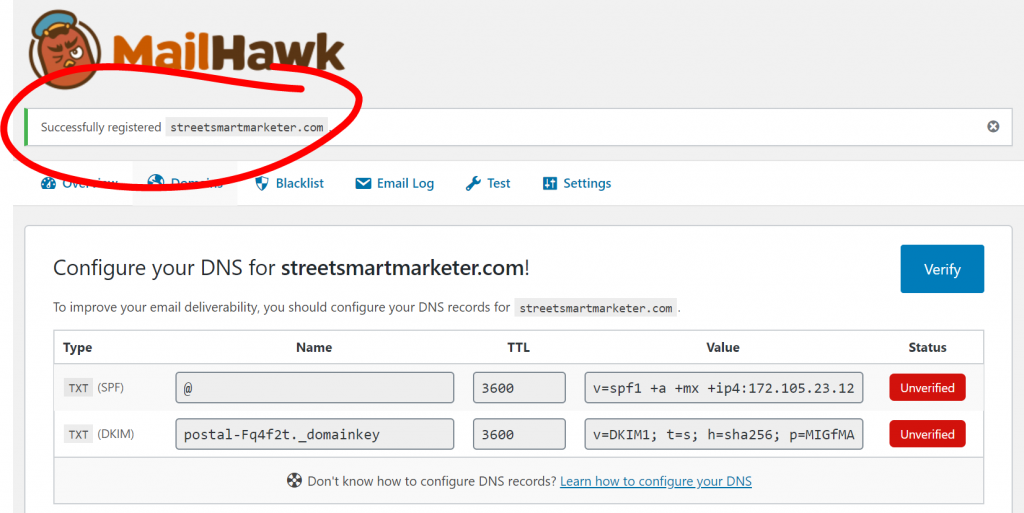
From here, you will want to follow the guide to configure your DNS records for this domain.