
Documentation » Getting started
Send your first email with MailHawk
On this page
Ready to send your WordPress email through MailHawk? Connect your site, authenticate your sending domain, and test a real message. You do not need to assemble a separate SMTP plugin and manually enter an SMTP host and password for this connected-service setup.
Before you start
MailHawk declares WordPress 6.9 and PHP 7.4 as its minimum versions. Confirm your site’s compatibility and back it up before installing or updating. Its tested-up-to WordPress version is not a separate minimum requirement.
You will also need a MailHawk account, permission to administer the site, and access to DNS for a domain you control. Do not use a free-provider address as the domain you authenticate.
Connect the site
- Install and activate MailHawk through WordPress’s plugin administration.
- Open Tools > MailHawk.
- Click Connect MailHawk.
- Sign in or create your MailHawk account and authorize the site through the service’s connection flow.
- Return to WordPress and check for any connection error before continuing.
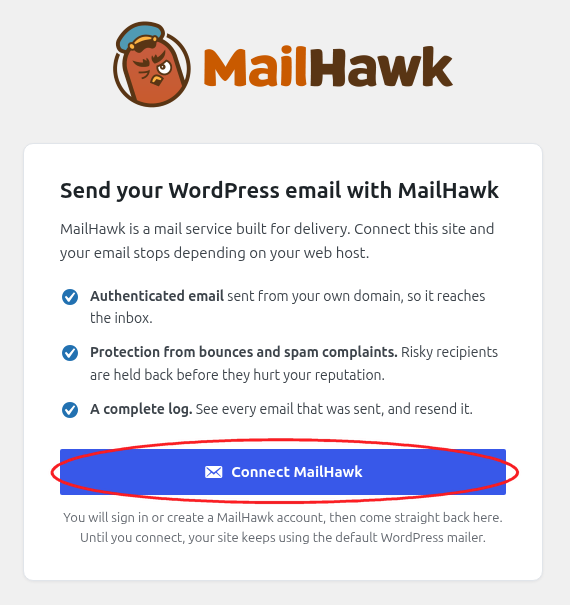
Installing the plugin without connecting it does not establish a MailHawk sending connection. Do not fix an authorization problem by pasting random API keys into Settings.
Choose your sender and domains
In the setup screen, enter your From name and From email address. Use an address on a domain you control.
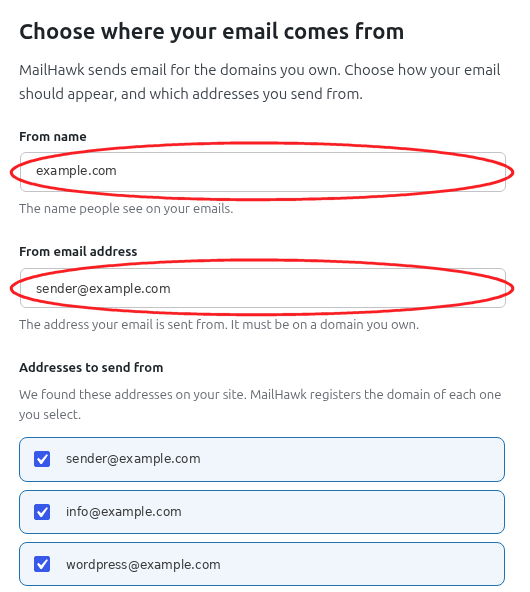
Review Addresses to send from and click Register domains for the relevant selections.
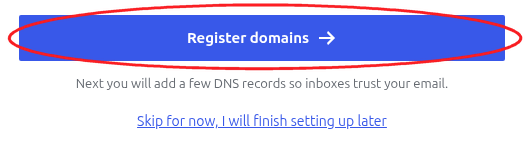
MailHawk registers the domains of those addresses. It does not create the inboxes themselves. Keep the receiving mail service for replies configured separately.
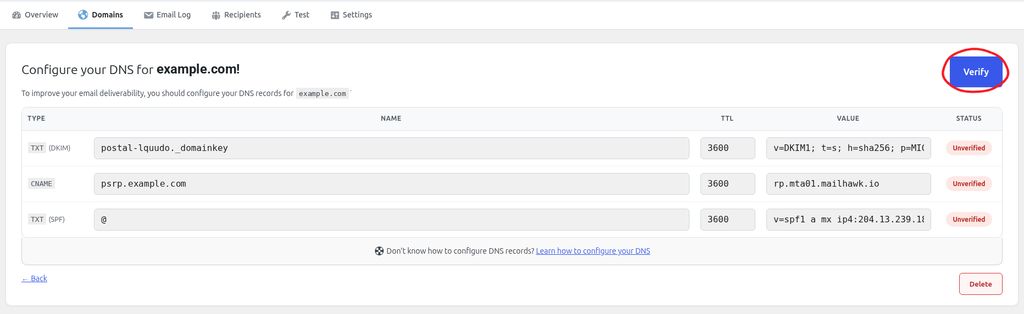
Follow Configure your DNS records for each domain. Check SPF, DKIM, and Return-Path individually, especially if you send from a subdomain.
Send a controlled test
- Open MailHawk’s Test screen.
- Enter an inbox you can inspect and complete the displayed message fields.
- Click Send Test.
- Open Email Log, find the test, and click Details.
- Check the receiving inbox and spam folders.
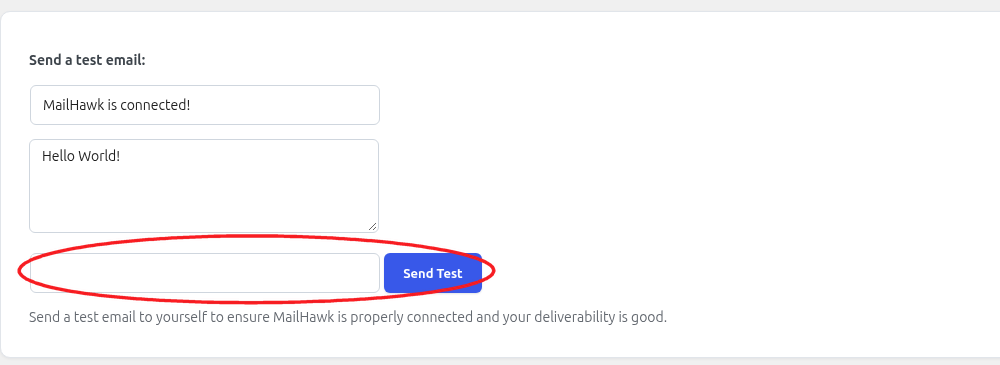
A successful submission is not proof of inbox delivery. If the test is Quarantined, review it before release. If it fails, read the explanation before repeating it.
Then test a real password reset, form notification, or order email. Another plugin can specify its own From address or send outside the ordinary WordPress mail flow, so this second test matters.
Find your way around
Use Overview for reports and usage, Domains for authentication, Email Log for individual messages, Recipients for remembered addresses, Test for a controlled test, and Settings for defaults, logging, and retries.
For delivery questions, start by checking your email log.
Still stuck? Open a support ticket and we will help.